The Filter Wheel
The filter wheel has five positions, one of which (position 0) is always empty (Open). The remaining four positions can hold 2" filters. A selection of broadband and neutral density filters (the most commonly used are the UBVRI filters) are stored at the Nickel 1-m (in a wooden box in the wooden cabinet in the control room). In addition, any of the 2" filters in the 3-m filter library can be mounted in the filter wheel. Please fill out a checkout slip when removing filters from the library and return the filters when your observing run is completed (failure to do so will, in the words of one of our august colleagues, result in infinite bad karma).Loading, Unloading, and Checking Filters
Observers are responsible for checking the contents of the filter wheel via the Filter Control GUI. If the GUI indicates that the wrong filters are loaded, contact a Lick Observatory staff member via phone or email (see the Support Astronomer On-Call Schedule) to get the desired filters installed. In the rare case an astronomer is approved to change filters themselves, the filter wheel is accessed from a panel on the west side of the telescope. You may carefully move the filter wheel by hand to identify which filter is in which of the four numbered slots. Always use the filter handling tool (a threaded aluminum handle kept in the wooden filter box) when inserting or removing filters to minimize the chances of getting fingerprints on the filters. The illustration at right shows the proper orientation for inserting filters into the filter wheel. |
 |
 |
Controlling the Filter Wheel: The Motor Control GUI
The filter wheel is controlled from the Filter Control graphical user interface (GUI). To start the software from the user account on either noir or nandor, click on the filter control icon or use the command nfilt_gui.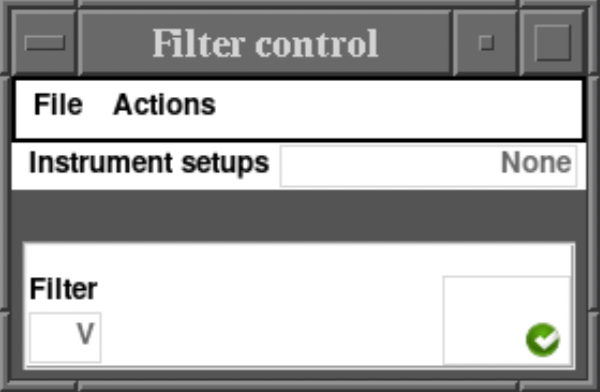 The GUI will display the current filter wheel position and allow you to change the filter wheel position. The GUI communicates with the hardware via the dispatcher software running on nandor. While the dispatcher should always be running, if there is a problem, contact a Support Astronomer or Telescope Technician. To change the filter position, click on the filter name and a pulldown menu of installed filters will appear (Figure 2). Click on the desired filter and it will be highlighted yellow and a green arrow button will appear next to it (Figure 3). To move the filter press the green arrow. A progress pie chart in the icon box to the right will show the status of the move. When the move is complete, the current filter name will be displayed and the background will turn back to white. 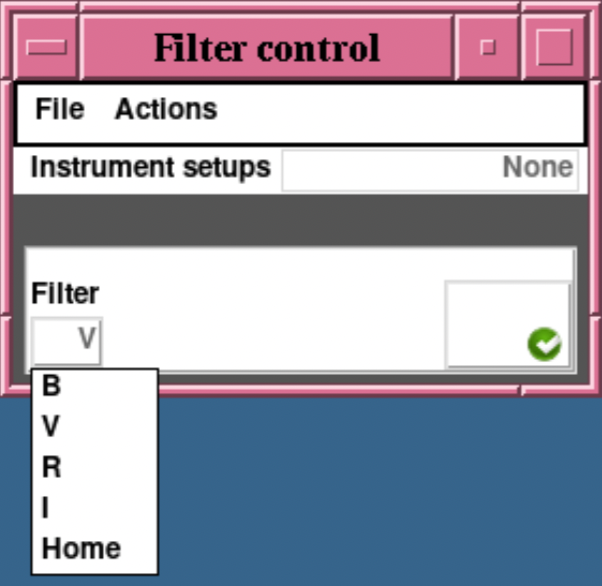 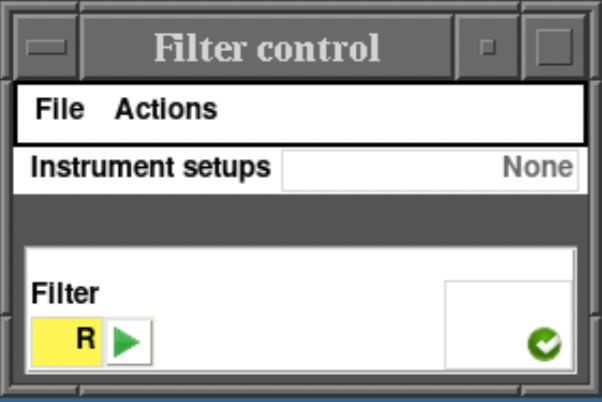 A number of icons show the status of the filter wheel motor, shown in the table below. A red Error X indicates there is a problem with the motor motion. One can get more information about the motor by clicking on the icon, which will bring up a motor detail panel (Figure 4). A yellow Warning triangle alerts users that there may be an issue, such as hitting a motion limit. Usually, moving the motor again will clear the warning, but if not one can click on the icon to bring up the detail panel to get more information. A Lock icon indicates that the motor has been locked out to prevent use either due to a mechanical problem or because a staff member is doing maintenance on the mechanical stage or motor itself. The Gear icon is used to indicate that the stage is moving during calibration.
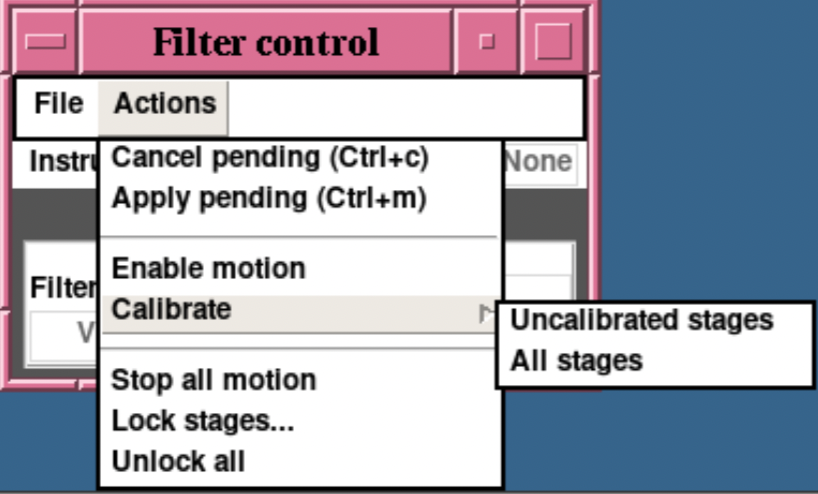
To get details about the filter wheel and its status, click on the icon box to the right of the filter name. 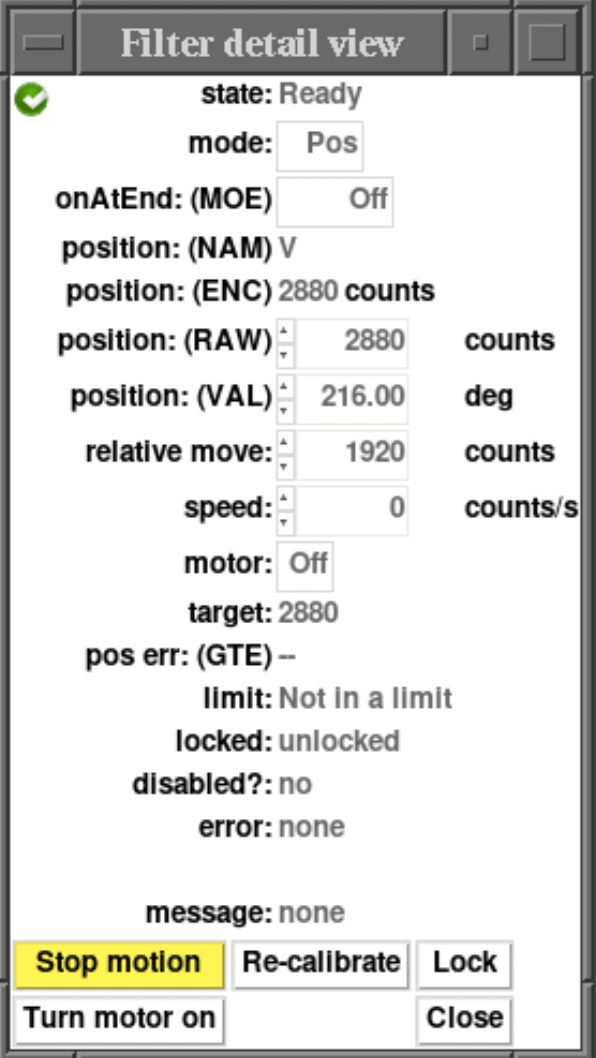 The detail panel (Figure 4) shows detailed information about the motor and its status. From this panel one may change the operation mode of the motor or move it in absolute or relative moves. The buttons at the bottom of the window are reasonably self-explanatory. The Lock button brings up a separate GUI (Figure 5) to select which motor to lock out and an entry window to describe the reason for the lockout. Do not unlock a stage unless 100% sure that is safe to do so. 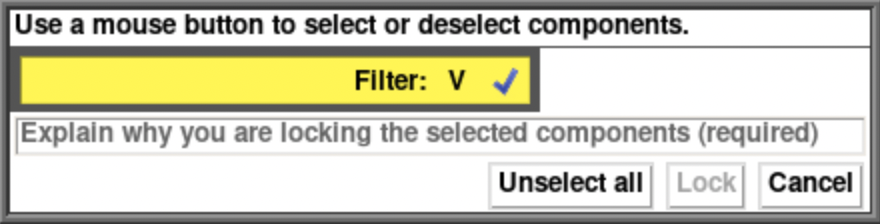 File MenuThe file menu (Figure 6) enables one to change the font size of the GUI. This can also be done with the shortcuts Ctrl+ to increase the font size or Ctrl- to decrease the font size. The Nickel filter wheel controller GUI may be stopped with Quit menu item or the shortcut Ctrl q. 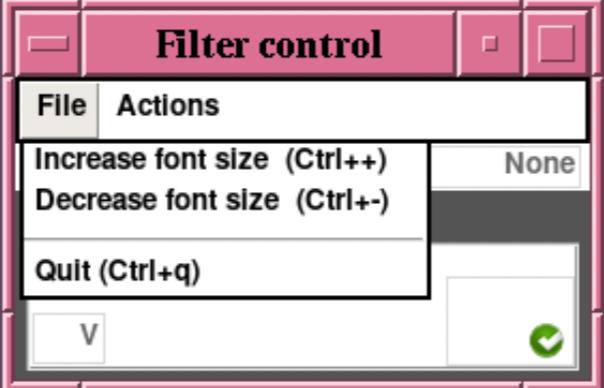 Actions MenuThe Action menu has many options for interacting with the motors. The top section has two options to Cancel pending motor moves or Apply pending moves. This is handy when many stages need to be moves to change between Instrument setups (see below) or when you want to cancel such a move. Instead of using the menu, once can use the shortcut Ctrl c to cancel pending moves, or Ctrl m to move the stages. The second section has options for Enabling Motion (useful when the saomot server has been restarted) or Calibrating the motors. When calibrating motors, one has the choice of calibrating just stages that are not currently calibrated, or doing all stages. It is recommended to calibrate the filter wheel during the afternoon before setup and calibrations.
The third section is to deal with misbehaving or broken motors, as
well as safety lockouts. In case motors are moving in ways they
shouldn't (e.g. when not commanded to move, or not properly reaching
the desired position), one can stop all motor motion by clicking on
Stop all motion. Locking out software control of one or more stages
can be accomplished by clicking on Lock stages... which brings up the
Lock GUI (shown above in Figure 5). If stages have been locked out and
are ready to be put back into service, motion control can be
re-enabled by clicking Unlock all. Please note that Unlock all should
never be performed unless one is 100% certain that it is safe to do
so.
Instrument SetupsIt is possible to save setups for future use and for ease of switching between setups during observations. To get the instrument setup menu, click on the setup's name (default is None as shown in Figure 8). The menu initially has three items, Load setup file..., Choose directory..., and Save new setup.... Load setup file... will bring up a file browser and you can load an existing setup. Setup files for the Nickel filter wheel will always have the extension .nfilt. Choose directory... will also bring up a file browser window in which one can select the directory that contains the saved setup files. Once that directory is selected, the saved setup file names will be displayed in the top portion of the Instrument setup menu. One can switch between setups by clicking on the desired setup then moving the motors (either individually by pushing the green arrow icons, or all at once using Actions-Apply pending, or with the keyboard shortcut Ctrl m. The last option, Save new setup..., brings up the Save Setup GUI. By default, all movable stages are selected and highlighted in yellow. Click on a stage to deselect it if the value is not desired in the saved setup. Once the desired motors are selected, click on Save as..., which will bring up a file browser window in which the directory and file name for the new setup can be set. 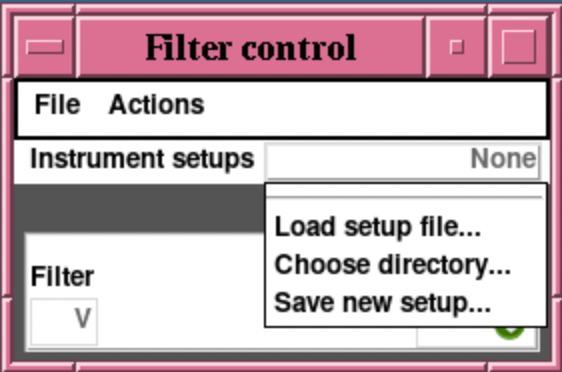
Technical informationThe dispatchers, nickmot1 and nickmot2, run on nandor. nickmot1 runs the DMC-30016 that drives the filterwheel and the arc lamps. nickmot2 runs the RIO that controls the Andor trigger input and shutter. The nickel command can start, stop or query the status of nickmot1 and nickmot2. It also lets you command nickmot, which applies the action to both of the dispatchers. For example, nickmot1 can be started with the command nickel start nickmot1
nfilt_config_gui should be used by the telescope technicians to update filter names after changing filters. It can also be done from the command line, e.g. to change the name of the filter in slot 3 to r': |
||||||||||||||||||||||||||||||||||||||||||||




Support Astronomers (sa@ucolick.org) Last modified: Mon Nov 2 11:21:32 PST 2026